

20 Creative Environmental Education Activities for Primary Students
Environmental education fosters environmental literacy among primary school students. Defined as a process enabling individuals to delve into ecological issues, solve problems, and take proactive steps for habitat improvement, it cultivates a profound comprehension of planet concerns. This education raises awareness and nurtures critical thinking, problem-solving, and decision-making skills for informed and responsible environmental stewardship.
By engaging young learners in these activities early on, we empower them to become conscientious global citizens. Our article explores 20 engaging environmental education activities for primary schools, offering practical ways to integrate environmental learning into the curriculum.
Environmental Education Activities: Energy Concept
The concept of energy underpins many natural processes and human activities. Energy enables various phenomena, such as movement, growth, and the transformation of materials. It has multiple forms, including solar radiation, chemical energy in food and plants, electrical energy for devices, and kinetic energy of moving objects.
Moreover, understanding energy involves recognizing how it can be stored and transferred, influencing temperature and weather patterns. Here are 4 environmental education activities for primary schools regarding the energy concept:
1. Do-it-yourself Greenhouse
- Activity’s purpose: Investigate the natural greenhouse effect by constructing a simple greenhouse made from waste materials.
- Materials:
- Sticky tape
- Cardboard box
- Scissors or craft knife
- Polythene bags
- Cans or plastic cartons
- Paint
- Soil
- Water
- Thermometer
- How to make:
- Step 1: Cut down the box’s corners to form flaps, leaving about 4cm from the base for rigidity.
- Step 2: Fold the flaps outward and cut out rectangles on the longest sides to create a 2cm ‘frame’.
- Step 3: Join the frames along the top and tape the end flaps in place.
- Step 4: Place the greenhouse in the sun, suspend a thermometer, and record the temperature.
- Step 5: Tape clear plastic over the window frames and observe temperature changes.
- How to use:
- Experiment with altering the greenhouse’s shape to observe temperature variations.
- Explore factors influencing heat retention in greenhouses.
2. Energy Transporter
- Activity’s purpose: Create ‘solar panels’ using a black plastic bag to demonstrate solar energy absorption and water heating.
- Materials:
- Black plastic bin liner or bag
- Clean tin can
- Cardboard box
- Assorted glues and sticky tape
- Cutting implements
- Clear plastic (such as old bags or cling film)
- Thermometer
- How to make:
- Step 1: Divide the participants into groups. Each group will receive a black plastic bag, a tin can filled with water, and a cardboard box.
- Step 2: Supply clear plastic and tools and instruct groups to create solar heating devices.
- Step 3: Place ‘solar panels’ outside to absorb sunlight or use lamps if needed.
- How to use:
- Ensure direct contact between the black liner and water for efficient energy absorption.
- Explore further activities demonstrating convection and cloud formation.
3. Energy from Wind Power
- Activity’s purpose: Investigate wind energy’s application by building and testing windmill models.
- Materials:
- 10 cm card squares
- Corks
- Plastic cartons
- Wire
- Pins
- Wood scraps
- How to make:
- Step 1: Use 10 cm card squares, cut diagonals, and affix blades with pins.
- Step 2: Alternatively, create blades from corks and plastic, experimenting with different shapes and angles.
- How to use:
- Test windmills outdoors to observe wind power generation.
- Discuss applications like water pumping and electricity generation from wind energy.
4. Energy from Water Power
- Activity’s purpose: Demonstrate water power principles through constructing and testing a simple water wheel model.
- Materials:
- Plastic egg cartons or small plastic cups
- Waxed card containers
- Staples or waterproof glue
- Compass
- Scissors
- Paper clips (assorted sizes)
- Wire (e.g., coat hangers)
- How to make:
- Step 1: Cut cups from egg cartons or use small plastic cups.
- Step 2: Cut out circles from waxed cards and attach cups to create a water wheel.
- Step 3: Insert the wire axle and position it under a small water stream for testing.
- How to use:
- Experiment with wheel design and water flow to optimize performance.
- Explore applications in lifting weights or generating electricity.
Environmental Education Activities: Landscape Concept
The movement of tectonic plates beneath the Earth’s surface causes earthquakes, volcanoes, and mountain building, creating and transforming landscapes. This concept helps students appreciate the formation and evolution of the Earth’s surface and the natural phenomena that continuously reshape it.
Explore these 3 environmental education activities for primary schools to teach your students about the landscape concept:
5. What’s a Rock?
- Activity’s purpose: Use a ‘guessing game’ to explore the nature of rocks and their derivatives, highlighting their prevalence in everyday objects and structures.
- Materials:
- Milk cartons (as they are waterproof) or plastic containers
- Selection of items including talcum powder, tea leaves, sand, mud, toothpaste, nails, and mayonnaise
- A blindfold
- How to make:
- Step 1: Place a selection of the items in the bottom of the cartons.
- Step 2: Blindfold the participants and lead them to the table with the cartons. (Avoid moving the carton to the participant to prevent them from using sound as a clue).
- Step 3: Guide their hand into each carton and ask them to identify the inside object.
- How to use:
- Discuss whether sand is considered a rock (it is, technically).
- Highlight that metals are derived from rocks, stimulating further discussion.
- Explain that talcum powder is a mineral and that some products, like toothpaste, contain rock-derived components.
- Follow up with a ‘rock audit’ to identify how many daily items originate from rocks or minerals.
6. Soil Sorter
- Activity’s purpose: Investigate the ingredients in various soil profile layers using a simple soil sorter made from basic materials.
- Materials:
- Plastic bottle
- Knife
- Soil
- How to make:
- Step 1: Cut the funnel-shaped top from a clear plastic bottle.
- Step 2: Place enough soil to half-fill the bottle.
- Step 3: Cover the soil sample with water and stir vigorously with a stick.
- Step 4: Leave the mixture to settle and observe the different layers.
- How to use:
- Use identical bottles or jars to compare different kinds of soil, ensuring the same amount of soil in each.
- Feel the soil sample between your fingers and describe the texture (e.g., gritty, silky, sandy). Compare these descriptions to the soil sorter results.
- Rub the samples onto paper to observe variations in color markings, reflecting different origins and textures.
- Compare samples taken from under different vegetation and depths in the soil profile.
7. Tullgren Funnel
- Activity’s purpose: Collect and sort ‘minibeasts’ using a Tullgren funnel to study soil and leaf litter organisms.
- Materials:
- Empty flexible plastic bottle
- Knife
- Meshes of different sizes
- Lamp
- How to make:
- Step 1: Cut the plastic bottle two-thirds down from the top to create a long ‘funnel’ and a short ‘container’.
- Step 2: Remove the cap and place the funnel section (narrow end downwards) into the container.
- Step 3: Cut a piece of small wire mesh to fit inside the funnel and push it down as far as it will go. If wire mesh is unavailable, use a piece of net curtain.
- Step 4: Fill the funnel with your soil sample and shine a lamp above the funnel.
- How to use:
- Position the lamp carefully; if it is too close, the organisms may die before reaching the bottom. To keep the organisms alive, place dampened paper in the collector.
- Use different sized meshes by folding or layering chicken wire to sort animals by size.
- If wire mesh is unavailable, use coarse leaf litter that will not fall through the funnel.
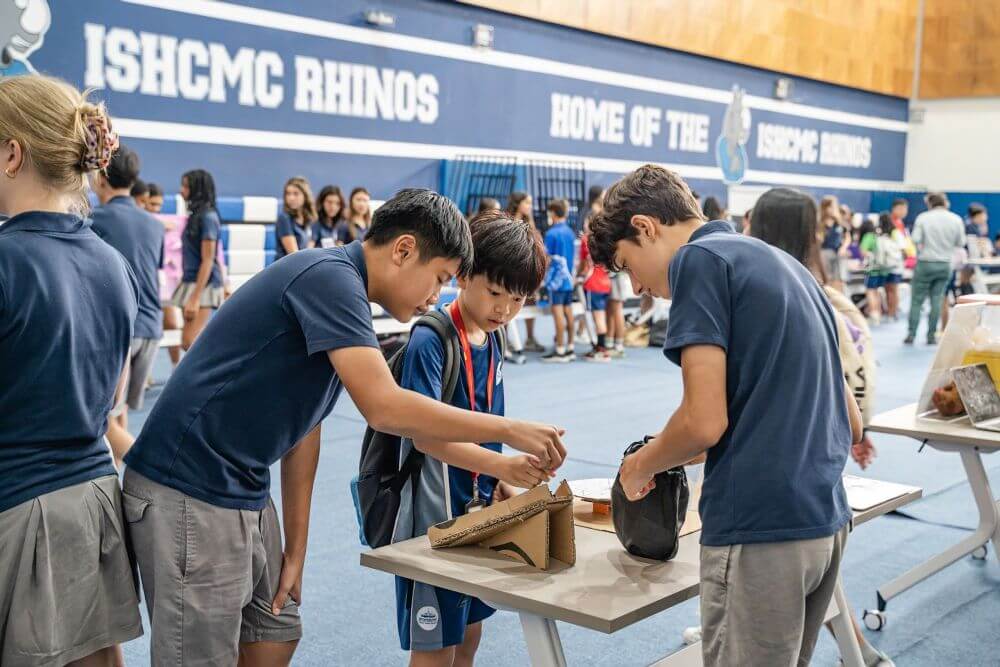
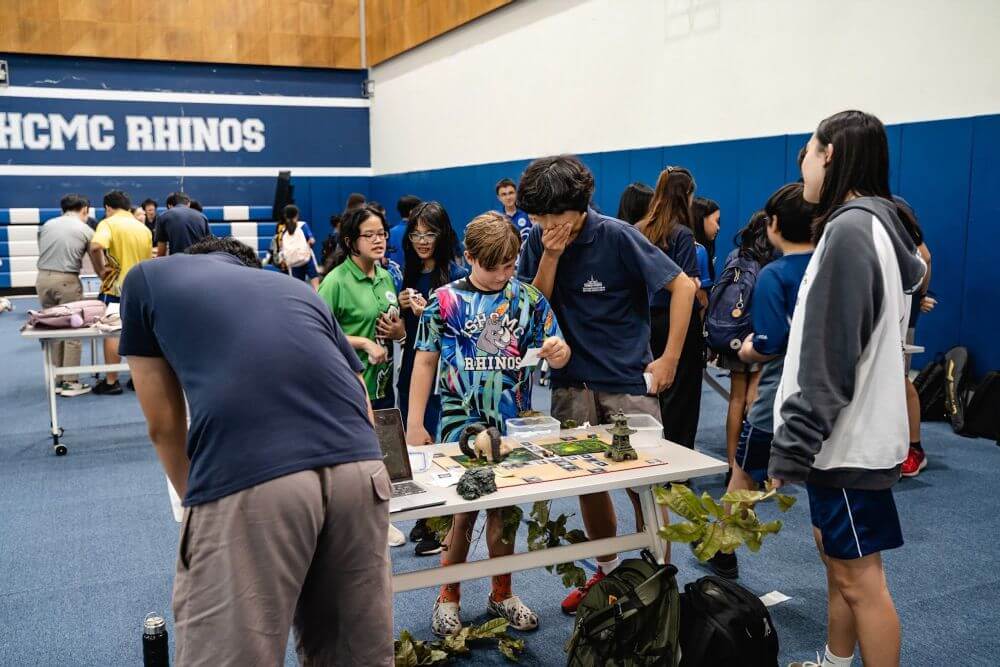
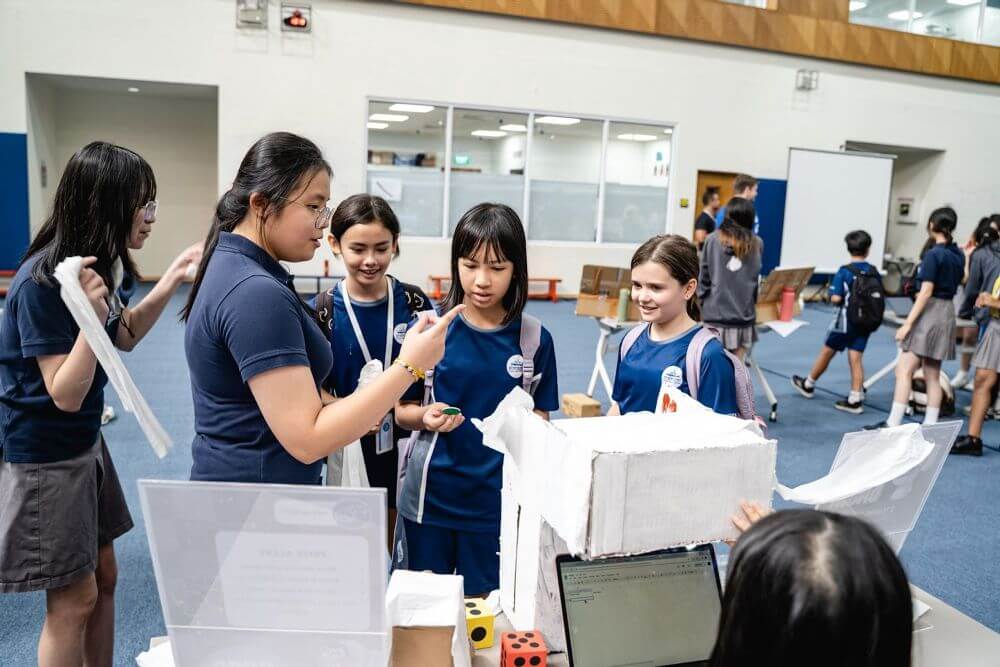
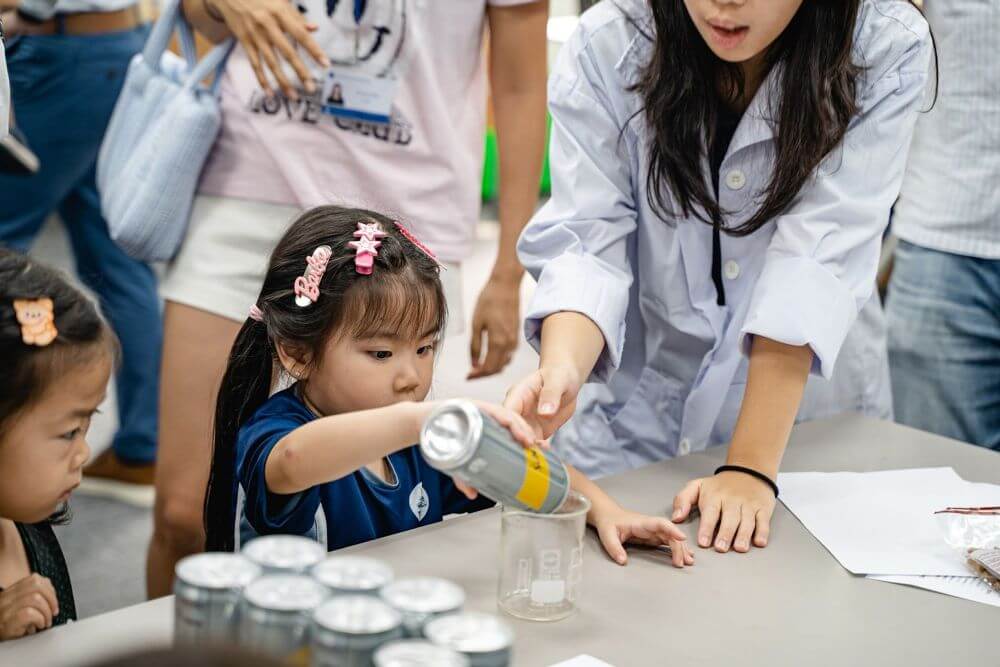
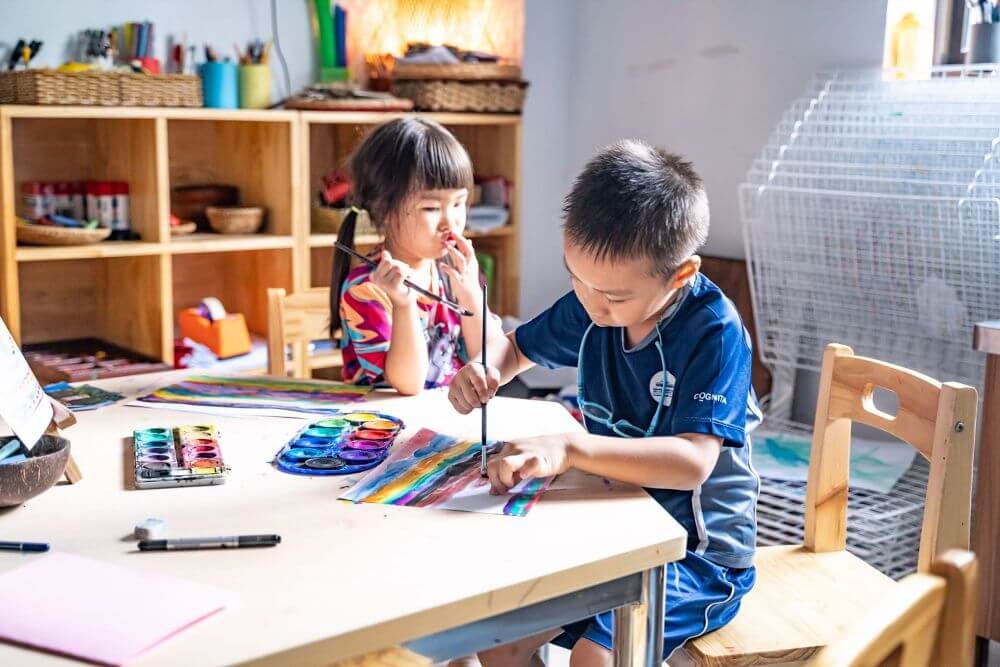
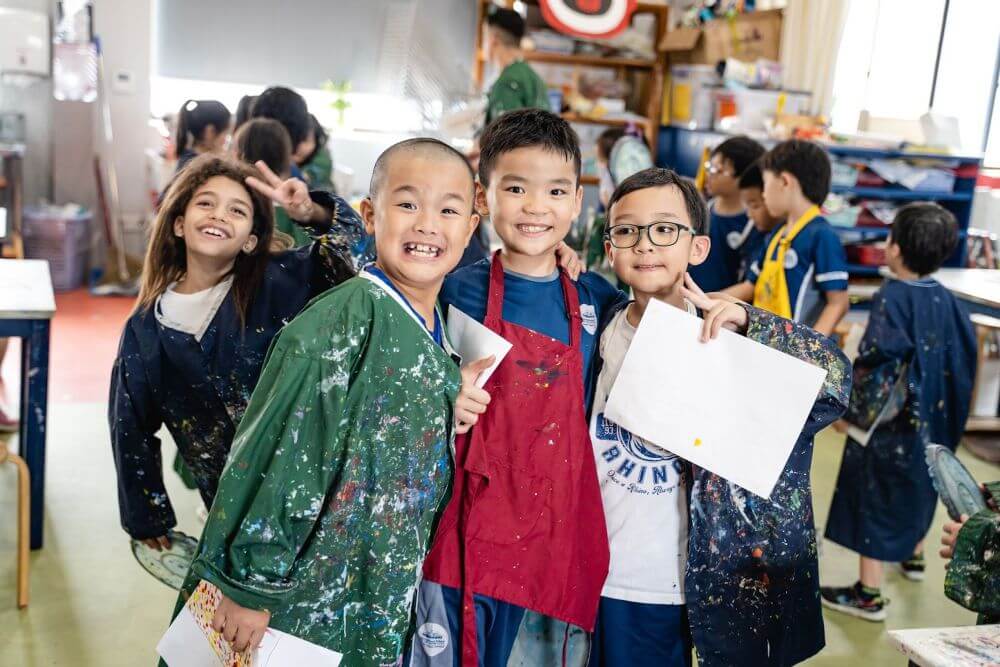
At ISHCMC, the integration of Environmental Education Activities for Primary Schools is deeply embedded within our educational approach, focusing on fostering a holistic development of students through inquiry-based learning and hands-on experiences. Our educational philosophy emphasizes the following aspects:
Conceptual and Inquiry-Based Approach: Environmental education is integrated into the Primary Years Programme (PYP) through structured and free inquiry methods. Students investigate real-world environmental issues to explore social, emotional, and academic learning.
Hands-On Learning and Curiosity: We cultivate a culture of curiosity where students actively inquire into the natural world, physical laws, and social interactions. Through hands-on experiences, such as experiments and field studies, students observe, question, and test theories.
Inclusivity and Reflection: Inquiry-based learning at ISHCMC promotes inclusivity by encouraging all learners to participate actively in their educational journey. Teachers facilitate learning experiences that challenge students to construct new theories and draw conclusions collaboratively.
Teacher Facilitation and Co-Creation: Teachers at ISHCMC play a crucial role in co-constructing student learning experiences. They provide intentional queries, provocations, and challenges that inspire students to delve deeper into environmental issues.
ISHCMC prepares students to understand environmental challenges through these integrated practices and equips them with the skills and mindset needed to become active contributors to a sustainable future.
Environmental Education Activities: Air Concept
The atmosphere’s composition and interactions with sunlight, particularly the ozone layer’s filtering of harmful ultraviolet radiation, are fundamental aspects that influence weather patterns and climate. By studying the air concept, students can appreciate the delicate balance and dynamic nature of atmospheric processes that protect and sustain ecosystems.
Discover 4 interactive environmental education activities for primary schools to educate students on the air concept and its environmental implications:
8. Pressure Gauge
- Activity’s purpose: Help students understand air pressure, its effect on weather patterns, and how it can be measured using a simple barometer.
- Materials:
- Barometer: wide-necked jam jar, balloon, scissors, thick rubber band, drinking straw, needle, sticky tape, glue, piece of card, plasticine
- Pressure demonstration: 2 wooden rulers, newspaper
- Air composition: wide-necked jar, straws or pipe, bowl or bucket of water
- How to make:
- Step 1: Cut off the balloon’s neck and stretch the remainder tightly over the neck of the jar. Secure with a rubber band.
- Step 2: Attach the needle to one end of the drinking straw and stick the other to the balloon skin, using the jar edge as a pivot.
- Step 3: Fix the card into the plasticine and adjust so the needle points at the scale. The needle should move with pressure changes.
- How to use:
- Preliminary activities:
- Demonstrate that air has weight and occupies space using rulers and newspapers.
- To show that air is made of ‘something,’ invert a jar into a bucket of water, preventing it from filling.
- Fill the jar with water and blow air into it with a straw, forcing the water out.
- Partially lift the jar from the water, observing the pressure keeping the water in place.
- Monitoring pressure changes:
- Use the homemade barometer to monitor pressure variations. If available, create a scale on the barometer card, calibrate it with a commercial barometer, and correlate increased pressure with fine weather.
- Preliminary activities:
9. Blowing in The Wind
- Activity’s purpose: Illustrate how pressure differences in the atmosphere cause wind movements, which can be measured using a wind vane and an anemometer.
- Materials:
- Simple wind vane: flat wooden board, piece of dowel or cane, hammer and nails, tube (e.g., cigar tube, empty biro), rubber band, scissors, glue, flat plastic carton (e.g., milk, margarine), thick drinking straws or ice lolly sticks
- Anemometer: long pole (e.g., cane or broom handle), four identical plastic pots, thick straws or thin pieces of cane, hammer and nails, sticky tape, beads
- How to make:
- Wind Vane:
- Step 1: Select a tube and a fitting piece of wood or nail. The tube should spin freely.
- Step 2: Fit the dowel upright on a wooden base. Mark compass points on the base and place the tube over the dowel.
- Step 3: Attach a thick straw or lolly stick to the top of the tube with a rubber band.
- Step 4: Cut an arrow shape and a tail ‘fin’ from the plastic and glue them into position.
- Anemometer:
- Step 1: Make holes in the plastic pots for the straws or canes, securing them at right angles with tape.
- Step 2: Thread a nail through beads and the center of the arms, then hammer it into the upright pole. Balance and tape the pots securely, all facing the same direction.
- Wind Vane:
- How to use:
- Set up the instruments in an open area as part of a weather station. Orient the wind vane base to the north/south before taking readings. Secure the anemometer in the ground, possibly using a plastic tube sleeve. Calibrate the anemometer using wind observations and the Beaufort Scale. Encourage participants to relate wind observations to temperature, rain, season, or daily cycles.
10. Wind Patterns
- Activity’s purpose: Record wind direction and investigate wind resistance using simple compasses, kites, and parachutes.
- Materials:
- Compass: small transparent, round plastic pot with lid, card, glue, scissors, waterproof pen, half bottle cork or small piece of polystyrene, sewing needle, a small magnet, ruler, protractor, water, washing detergent
- Kites: thin polystyrene sheet or light, sturdy card, buttons, thread, string
- Parachutes: thin plastic sheet (polythene bags), thread, cotton reels
- How to make:
- Compass:
- Step 1: Cut a small circle of cards to fit into the lid of the pot. Draw lines at 90°, 180°, 270°, and 360° and mark them with E, S, W, and N. Stick this into the lid.
- Step 2: Cut a slit across the cork or polystyrene. Magnetize the needle by stroking it with a magnet in one direction and push the needle into the slit.
- Step 3: Fill the pot with water and add a drop of detergent. Float the cork or polystyrene on the water.
- Kite:
- Step 1: Cut a 50cm square from the polystyrene sheet. Find and mark the center and a spot 12cm above it. Make holes at both points.
- Step 2: Thread string through each hole and fasten the ends to buttons. Attach a line to the thread. Optional: fix paper streamers to the base.
- Parachute:
- Step 1: Cut a square of thin plastic for the canopy. Tie a thread to each corner and thread each piece through a cotton reel’s center, tying off the ends.
- Compass:
- How to use:
- Place the compass on a level surface and turn the lid until the needle aligns with the north/south line seen through the base. Take kites and parachutes outdoors to ‘feel’ the wind and investigate wind resistance. Use these activities to explore and understand wind patterns.
11. Ozone Holes
- Activity’s purpose: Demonstrate reactions in the upper atmosphere, using role-play to illustrate the formation and depletion of ozone.
- Materials:
- Cloth
- Card
- Paint
- How to make:
- Using the provided materials, create costumes representing symbols like the sun, oxygen gas, and a ‘bad’ CFC.
- How to use:
- Use a story format for the role play:
- “There was a stable couple of oxygens that lived together in the air our heads” (participants hold hands in pairs to represent oxygen molecules).
- “In the morning, as the sun came out, they would get excited and go off to work” (participants form groups of three oxygens, representing ozone molecules filtering harmful radiation).
- “At night, they stopped working and reformed their partnership” (this cycle continues until CFCs arrive).
- When CFCs break up the oxygen pairs, less ozone is formed, demonstrating the impact of these ‘bad’ intruders.
- Use a story format for the role play:
Environmental Education Activities: Water Concept
The concept of water forms the foundation for many life processes and ecological systems. Because water covers over two-thirds of the Earth’s surface and is vital for all living organisms, students should grasp its significance and role in sustaining life.
Here are engaging environmental education activities for primary schools focusing on the water concept.
12. Wonderful Water
- Activity’s purpose: Illustrate the phenomenon of surface tension, a specialized habitat for many animals, and investigate the differences in buoyancy between fresh and saltwater. Additionally, it will explore how temperature affects the amount of oxygen dissolved in water, which in turn impacts aquatic fauna.
- Material:
- Surface tension: small pot filled with water, tissue paper, pin or small paper clip
- Buoyancy: two pots of water, salt, two fresh eggs
- Temperature: graduated liquid crystal strips
- How to make:
- Surface tension: Place a piece of tissue on the water and carefully lay a pin or small paper clip on the tissue. Gently help the tissue sink and observe the skin-like effect of surface tension.
- Buoyancy: Fill one pot with salt water and the other with fresh water. Place an egg in each pot and observe the difference in buoyancy.
- Temperature: Use graduated liquid crystal strips to measure the temperature of the water.
- How to use:
- Surface tension: Observe the pin or clip floating on the water due to surface tension. Add a drop of detergent to see how it breaks the surface tension.
- Buoyancy: Compare the buoyancy of eggs in fresh and saltwater, noting that eggs float better in saltwater.
- Temperature: Measure the water temperature using liquid crystal strips and discuss how temperature influences oxygen levels and aquatic life.
13. The Water Cycle in Miniature
- Activity’s purpose: Demonstrate the water cycle in a simplified model, emphasizing the processes of evaporation and condensation. Participants will explore why rainwater lacks salt compared to seawater.
- Material:
- Hot water
- Salt
- Ice cubes
- Clear plastic bag
- Two small glass jars
- Wire mesh
- Large bowl
- How to make:
- Step 1: Pour hot water into the bowl to create steam, simulating the ocean. Add enough salt to make the water noticeably salty.
- Step 2: Place one empty jar in the middle of the bowl, ensuring it is stable.
- Step 3: Cover the bowl completely with the clear plastic bag and secure it around the edges.
- Step 4: Place the wire mesh over the bowl and position the second jar on top of the mesh.
- Step 5: Put ice cubes into the second jar to create a cold surface for condensation.
- How to use:
- The ice cubes’ cold surface causes water to condense on the plastic sheet, representing clouds.
- Check if the water collected in the jar is salty by tasting it and comparing it with the water condensing on the plastic.
- Observe what happens to the remaining water in the bowl.
- Discuss why water evaporates from the bowl and then condenses on the plastic.
- Compare this model with the actual global water cycle, noting similarities and differences in processes.
14. Pollution Detectives
- Activity’s purpose: Focus on monitoring water pollution levels by observing the presence or absence of aquatic minibeasts. Participants can assess water quality across different sites and seasons using a biotic index.
- Material:
- Nets or samplers: appropriate for the habitat
- Sorting dish: large margarine or ice cream tub
- Handling tools: plastic spoon, small brush, pipette made from a wide plastic tube
- Observation containers: molded plastic containers, plastic egg cartons, or ice cube trays
- How to make:
- Step 1: Assemble nets and sorting equipment as per instructions.
- Step 2: Create observation containers from available materials to facilitate sorting and studying the catch.
- How to use:
- Identify several running water sites for comparison. Use a consistent sampling technique at each site.
- Record the presence or absence of different minibeasts using a biotic index. Compare water quality by assessing the diversity and abundance of organisms.
- Analyze data to determine pollution levels and compare different habitats and seasons. Consider constructing a customized scoring system to evaluate water quality based on local conditions and available organisms.
Environmental Education Activities: Wildlife Concept
Understanding the wildlife concept offers insights into Earth’s vast diversity of life forms. This knowledge helps students appreciate the complex interactions within ecosystems and different species’ roles in maintaining environmental balance.
Delve into 3 environmental education activities for primary schools that provide practical ways for students to learn about wildlife.
15. Lock and Return
- Activity’s purpose: Hygienic pooters are cost-effective and straightforward, allowing students to collect small minibeasts without harming them. Utilize plastic waste for observation containers further promotes environmental stewardship.
- Material:
- Pooter: Polythene tubing (approx. 7mm internal diameter), drinking straws, muslin or net curtain material, or old tights
- Specimen tubes: Semi-transparent 35mm film containers (Fuji ‘film cans’ from processing labs or photographers), small margarine or plastic containers with clear lids
- How to make:
- Pooter:
- Cut plastic tubing into approximately 10cm lengths.
- Cut muslin into 3cm by 3cm squares.
- Assemble with one or two straws, adjusting for tube size.
- Reduce straw usage by cutting them into halves or quarters.
- Simple magnifier:
- Create a small circle in the center of a plastic sheet with a thick wax crayon.
- Carefully place a drop of water in the circle, using surface tension to form a convex dome acting as a magnifier.
- Pooter:
- How to use:
- Pooter: Children can use pooters to collect small minibeasts from nets, beating trays, or directly from vegetation by sucking through the straws with the tube held over the animal. This method ensures careful handling and minimal disturbance to the creatures. The collected minibeasts can be observed through the tube or transferred to another container.
- Magnifiers: These are useful for close-up observation of small minibeasts held in shallow dishes or containers, although they must be held flat for optimal use.
16. Wildlife Detectives
- Activity’s purpose: Hair tubes and footprint traps are used to identify and study the presence of various mammals, often nocturnal or secretive. These methods help understand the habits and populations of different mammals in various habitats.
- Material:
- Hair tubes: Plastic tubes (3cm wide and 10-15cm long), double-sided sticky tape, bait (grain or fruit), tent pegs or sticks
- Footprint traps: Shallow tray (e.g., baking tray), wet soil or mud
- Plaster casts: Plaster of Paris, mixing pot, stick, ring of stiff cardboard or plastic, petroleum jelly (Vaseline)
- How to make:
- Hair tube:
- Step 1: Secure a strip of double-sided sticky tape along the tube’s roof and across one end to restrict entrance size.
- Step 2: Place a small amount of bait inside the tube.
- Footprint trap:
- Step 1: Fill the tray with mud and smooth it down.
- Step 2: Surround the print with a card or plastic ring smeared with Vaseline to make a plaster cast.
- Step 3: Mix the plaster of Paris to a creamy paste, pour it into the mold, and let it harden for at least 10 minutes before removing and cleaning.
- Hair tube:
- How to use:
- Place hair tubes in areas frequented by small mammals, securing them with pegs to prevent displacement by larger animals. Look for hair samples, bait consumption, and droppings. Build a reference collection of guard hairs for species identification.
- Footprint traps can be set where animals are likely to step, and plaster casts can be made of any prints found. You can compare footprints across different habitats and times of year to gather data on mammal activity and population density.
17. Pictures with Plants
- Activity’s purpose: Use natural items collected from various habitats to illustrate diversity, color, and composition differences. These items can be creatively used to produce pictures that record the unique characteristics of each habitat.
- Material:
- Habitat cards: Small pieces of white card, PVA glue
- Windfall pictures: Blotting paper or other absorbent paper, old newspaper, heavy weights (e.g., books)
- How to make:
- Step 1: Stick small pieces of plant material to the card to:
- Produce records of color variety within a habitat, noting the range of greens available.
- Collect examples of each leaf shape onto cards for comparison, using numbers or made-up names for identification.
- Step 2: For pictures, collect windfall material or common wildflowers. Dry thoroughly before pressing it between absorbent paper and weights for a few weeks.
- Step 3: Create pictures by gluing plant parts onto the card. Use leaves for body shapes, stalks for limbs, tiny flowers or seeds for facial features, and petals for clothing and backgrounds.
- Step 1: Stick small pieces of plant material to the card to:
- How to use:
- These creative projects help students understand plant diversity and the unique features of different habitats.
- Encourage careful material collection to minimize environmental impact and ensure participants appreciate plant life’s natural beauty and variety.
Environmental Education Activities: Positive Action Concept
The positive action concept empowers students to translate knowledge of environmental issues into tangible actions that promote sustainability and community engagement.
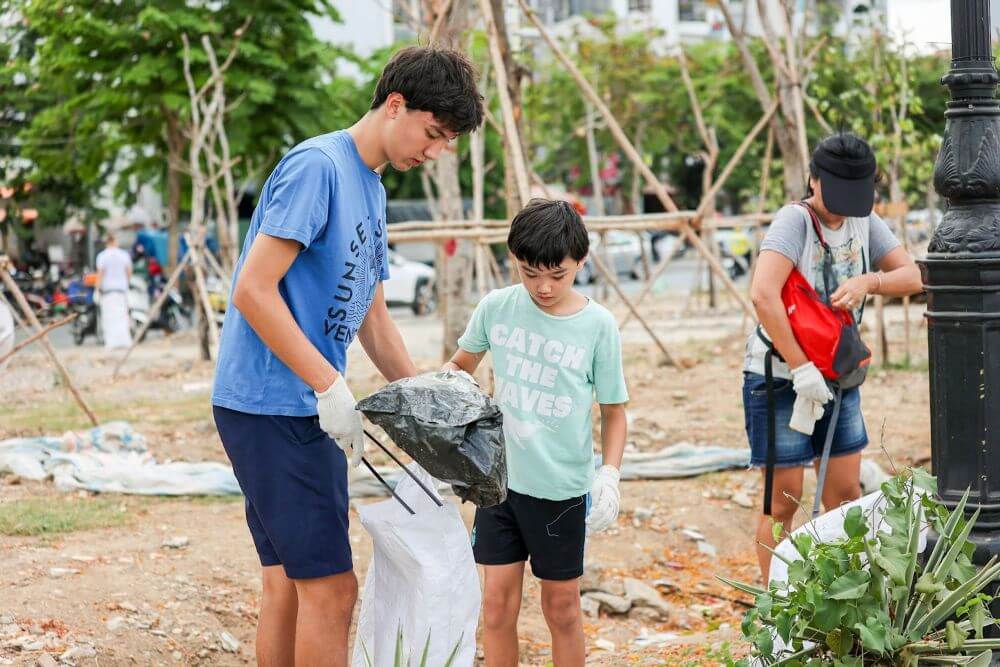
Students deepen their understanding and develop a proactive mindset toward conservation and resource management by engaging in environmental education activities for primary schools that address environmental concerns.
18. Paper Recycling
- Activity’s purpose: Introduce the principle of waste recycling by collecting old paper and recycling it into something usable again. Reminds us that we can all support local recycling schemes for glass, cans, plastic, and paper.
- Material:
- Old newspapers (or other waste paper from schools or offices)
- Very fine wire (or plastic) mesh
- Absorbent cloths
- Buckets or bowls
- Wooden spoon
- Colorings
- Plastic bags
- Weights
- How to make:
- Step 1: Shred the paper into a bucket of water and leave it to soak overnight.
- Step 2: Using the wooden spoon, pulp the paper (draining off excess water). At this point, mix in the coloring if necessary.
- Step 3: Put the pulp into the bowl (preferably oblong shaped) and add an equal volume of water. Mix together.
- Step 4: Cut the mesh to the size of paper required or to one piece that will fit into the bowl.
- Step 5: Slide the mesh into the bowl and lift it out, covered in a pulp layer.
- Step 6: Place a piece of paper on a clean surface. Then, put a sheet of absorbent cloth on the paper. Put the mesh onto the cloth, pulp side down. This requires a precision flip action!
- Step 7: Press the mesh down hard and peel it carefully off the pulp. Put another absorbent cloth on top. Keep repeating steps 6 and 7 until the pulp is used up.
- Step 8: Finish your pulp and cloth layer ‘cake’ with a newspaper ‘topping’ and weigh it down.
- Step 9: After a few hours, dismantle the layers and spread the sheets out to dry.
- How to use:
- Try including leaves between the layers to make patterns in the paper.
- Make colored paper by adding liquid dye from plant materials such as bark, fruits, or petals.
- Explore making scented paper with perfume or natural scents like lavender or mint.
19. Replacing The Forests
- Activity’s purpose: Trees can be propagated from seed, cuttings, or suckers and then planted by participants, emphasizing the importance of aftercare for sustainable reforestation efforts.
- Material:
- Sacking for seeds
- Plastic bottles/cartons
- Secateurs
- Roofing felt
- Craft knife
- Fine wire mesh
- Sand spade
- Cans
- How to make:
- Step 1: When collecting seeds, select only ripe fruit from the ground or lower branches of diverse specimens to ensure genetic diversity.
- Step 2: Sow winged seeds with intact wings and remove husked seeds like acorns.
- Step 3: Adapt to dormancy requirements of different seeds; scarify tough seeds like baobab for successful planting.
- Step 4: Use stratification techniques for temperate climate species to simulate natural conditions for germination.
- How to use:
- Choose native tree species guided by local experts or botanical resources to promote biodiversity.
- Monitor growth and maintenance, ensuring suitable conditions for seedling development.
- Employ nursery techniques such as using plastic bottles as mini-propagators for controlled growth environments.
20. Flower Power
- Activity’s purpose: Develop observation skills and foster appreciation for local flora, promoting ecological awareness and biodiversity conservation.
- Material:
- Plastic containers
- Shallow trays
- Plastic bottles
- Pooter (for observation)
- How to make:
- Step 1: Select a shaded site for the ‘flower power station’, minimizing direct sunlight to reduce watering needs. Incorporate existing vegetation into the site.
- Step 2: Identify native flowers through local guides or expert advice, focusing on preferred species for planting and nurturing.
- How to use:
- Engage actively in site upkeep, documenting flowering times and ecological interactions throughout the year.
- Utilize observational tools like a pooter to study insect interactions with flowers.
- Maintain records of visitor species and their ecological roles within the ‘flower power station’.
Organizing Environmental Education Activities for Primary Schools with ISHCMC
At ISHCMC, we support students in exploring environmental issues through environmental education activities for primary schools. We foster curiosity and hands-on learning culture, encouraging students to inquire into the natural world, physical laws, and social interactions. Our approach emphasizes inquiry-based learning, where students construct and test theories, observe, question, make connections, and draw conclusions.
By integrating environmental education into our curriculum, we aim to inspire a lifelong love for learning and a deep understanding of sustainability. Apply now to ISHCMC to empower your child with meaningful experiences that nurture curiosity and environmental stewardship!


